Adding a Linux kernel module in nvidia jetson could be a little tricky. This article will cover the entire process of adding a custom kernel module and flashing jetson nano with the rootfs image. I will also describe the possible issues that might occur and how to solve them. The instructions are applicable for Jetson Nano module with jetpack 4.3 on Linux host.
SDK Installation:
The latest SDK manager can be downloaded from https://developer.nvidia.com/nvidia-sdk-manager.
I use SDK version 1.1.0. The following steps will install and run SDK manager in Ubuntu.
1) Open a Terminal. Keyboard shortcut is Ctrl+Alt+T
2) Change Directory to the folder where sdk is downloaded.
3) Run sudo apt install ./sdkmanager-[version].deb
4) Once installed, open SDK manager by running sdkmanager
Creating Image and Obtaining Sources:
Now the GUI will be up. Login with your developer account and SDK manager will provide with a form, which consists of 4 steps.
1) Development environment- Provide the nVidia board, Jetpack version etc.
2) Details and Licenses- Select the components you want to install and choose a destination folder. Jetson OS Image should be selected. Remember the target hardware image folder.
3) Setup Process- In this step all components will be downloaded and installed. You may skip flashing step if you don’e like to flash the board.
4) Final Summary- Summarises the components that were installed
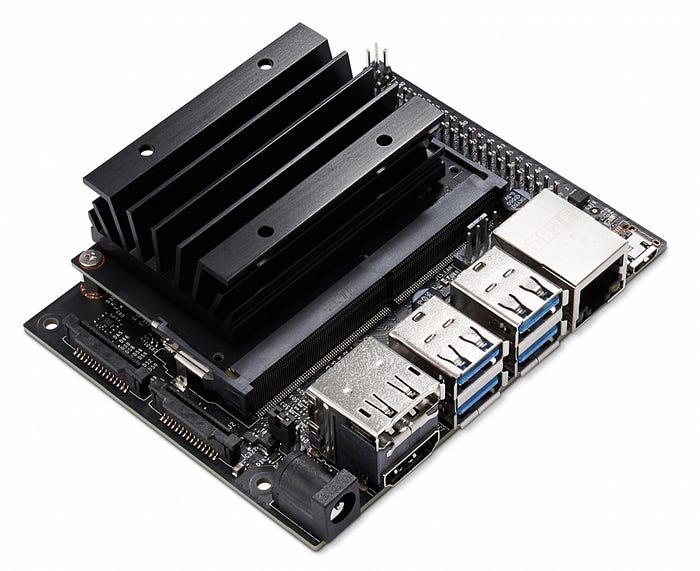
Jetson Nano Dev Kit (Courtesy: NVidia).
Customising Image:
To customise kernel we need to download kernel source code.
1) Go to the HW image folder. And navigate to Linux_for_Tegra folder, which contails flash script, rootfs and kernel and bootloader images.
2) Open a terminal in the folder and run: ./source_sync.sh< Use tags provided in release notes. I used tag tegra-l4t-r32.3.1
3) Now you will get sources folder which contains source codes for kernel and boot-loader.
4) cd to kernel source folder, which is kernel4.9 in my case.
5) Add your custom module’s source code in the respective directory along with KConfig and MakeFile changes.
6) Add the module to tegra_defconfig which is present in arch/arm64/configs as a static or loadable module. You may do makeconfig also.
7) To compile kernel we need to setup environment variables: TEGRA_KERNEL_OUT= 8) Install cross compiler. I used linaro. To install you just need to untar source into a directory, which we will use in the next step. 9) Run export CROSS_COMPILE= 10) Run export LOCALVERSION=-tegra 11) To configure linux with tegradef_config, run make ARCH=arm64 O=$TEGRA_KERNEL_OUT tegra_defconfig 12) Build the kernel using: make ARCH=arm64 O=$TEGRA_KERNEL_OUT -j3 13) Replace Linux_for_Tegra/kernel/Image with $TEGRA_KERNEL_OUT/arch/arm64/boot/Image 14) If you have any dts change, replace the contents of Linux_for_Tegra/kernel/dtb with $TEGRA_KERNEL_OUT/arch/arm64/boot/dts/ 15) If you have built a dynamic module you shall add it to rootfs using: sudo make ARCH=arm64 O=$TEGRA_KERNEL_OUT modules_install INSTALL_MOD_PATH= 1) To flash the image to jetson nano devkit run: sudo ./flash.sh jetson-nano-qspi-sd mmcblk0p1 .It will take around 15 minutes to flash the board. 2) Once flashed board will bootup and ask for user configuration like timezone, keyboard layout, username and password. 3) Provide the details and the configuration daemon will apply the configurations and reboot you to Ubuntu home.Flashing Image: